Monday, March 29, 2010
Thursday, December 24, 2009
December 2009
Taken from the mossy knoll above the house.
The moat around the house will be filled in and a planter box with moss and ferns will be built by the windows behind me.
9' + chimney pipe, with two supports to keep it from blowing over.
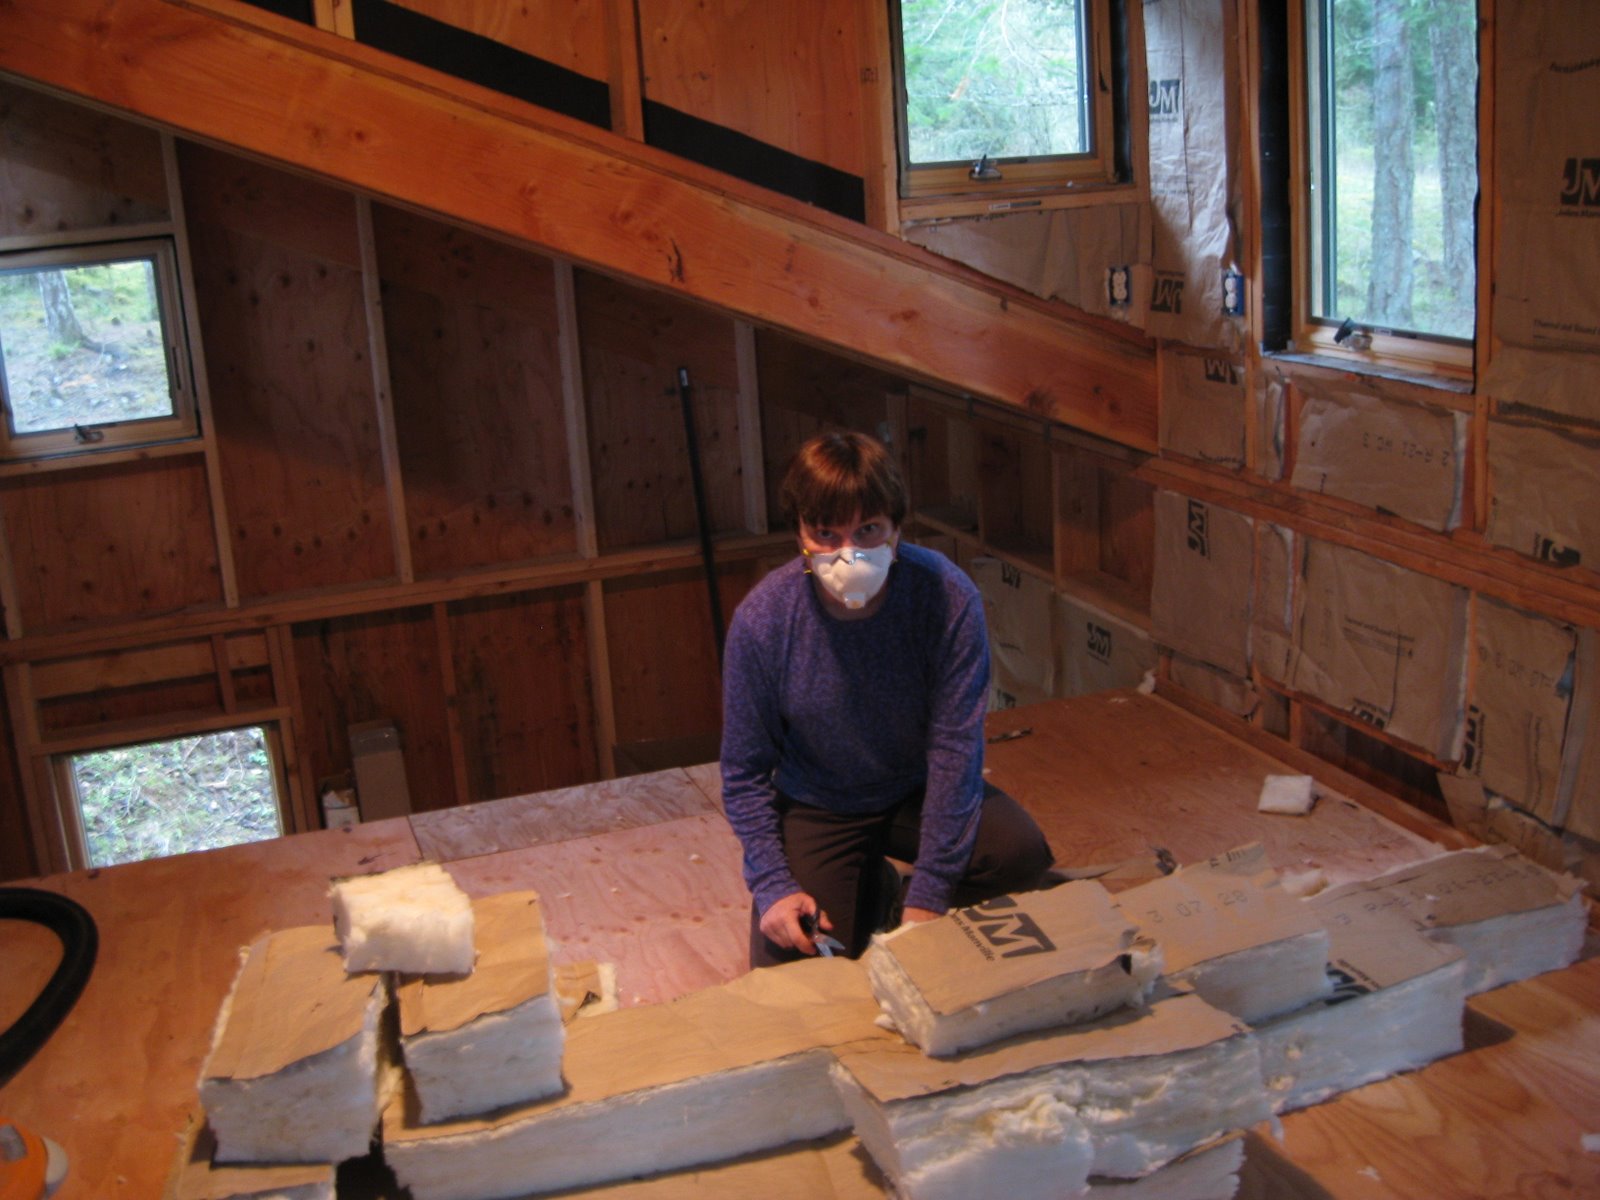
Warmth at last!
Vent plumbing, pex and wires -- exciting stuff ...
Saturday, November 21, 2009
Monday, August 31, 2009
Loft floor
A few more photos of the loft beams, plus the loft floor. Actually what is shown will be the ceiling (3/4" T&G pine). It's pretty bendy (on 3' centers), so we'll have 1/2" ply glued and nailed on top, and then finish with 3/4" VG fir flooring. The original plan was to use 2x6 T&G ("car decking"), but the material available on-island was not very nice, and we have lots of the pine (it will be used for the ceiling throughout the house).
.jpg)
.jpg)
Monday, August 24, 2009
Loft beams go up
Work has finally switched from rough carpentry to things that will show. Last year's insane work week (during which we raised the walls) didn't scare Bart off, and he, Barbie, Brian and Alison came up for about 10 days, during which we put up the beams for the loft, and installed a set of pre-hung French doors.
Cutting a beam.

The human drill press in action.
Sighting the hole.


Bolting on a custom bracket, made by Bart.
Another beam goes in. ... Bart looks a little short!
Beams and a post.
A little R and R .
One of the bridge washers we used on the beams.
Cutting a beam.
The human drill press in action.Sighting the hole.


Bolting on a custom bracket, made by Bart.
Another beam goes in. ... Bart looks a little short!
Beams and a post.
A little R and R .
One of the bridge washers we used on the beams.
Friday, June 19, 2009
Let there be light ...
First step is to remove the plastic and tarps that have been covering the openings, make sure that all the framing is properly nailed, the rough opening is the correct size, and the bottom is level.
Some of the rough openings are oversize, which allows for a beveled filler at the bottom of the window.
Here it is nailed in place.
A layer of 9" wide flexible flashing goes on next, and serves to ensure that any water that gets in does not rot out the framing.
The sides of the opening are wrapped in 15# roofing felt, which laps over on the outside, as shown in the next photo.
The windows on the inside (minus trim, of course).
Monday, May 25, 2009
Subscribe to:
Posts (Atom)


.jpg)